
7 Tips for Buying a Construction Container
A construction container can serve as secure tool storage, a site office, or a weather-resistant space for materials. Choosing one involves more than comparing prices. The right unit should match your site, intended use, delivery access, and project timeline. Small oversights can become expensive: a container may fit on paper but leave too little room for doors, vehicles, or safe loading. Details matter.
These seven tips will help you assess size, condition, construction, security, ventilation, delivery, and total cost before committing. Start by measuring the usable space, not just the container’s advertised dimensions. Ask for clear photographs and written details about the floor, doors, roof, and any repairs. If possible, inspect the unit in person. A low price can be appealing, but it may hide wear that is difficult to judge from a short listing. Not always, though. New equipment is not automatically the best choice for every temporary project.
Consider how the container will be transported and positioned, too. Confirm that the delivery route and unloading area are suitable, and ask what site preparation is expected. These practical checks do not guarantee a perfect purchase. They do make surprises less likely. A careful buyer compares the container’s condition and real operating costs against the demands of the job. Some details are easy to miss, and I would not treat any single checklist as a substitute for a proper inspection.
Define Your Project Needs and Intended Container Use
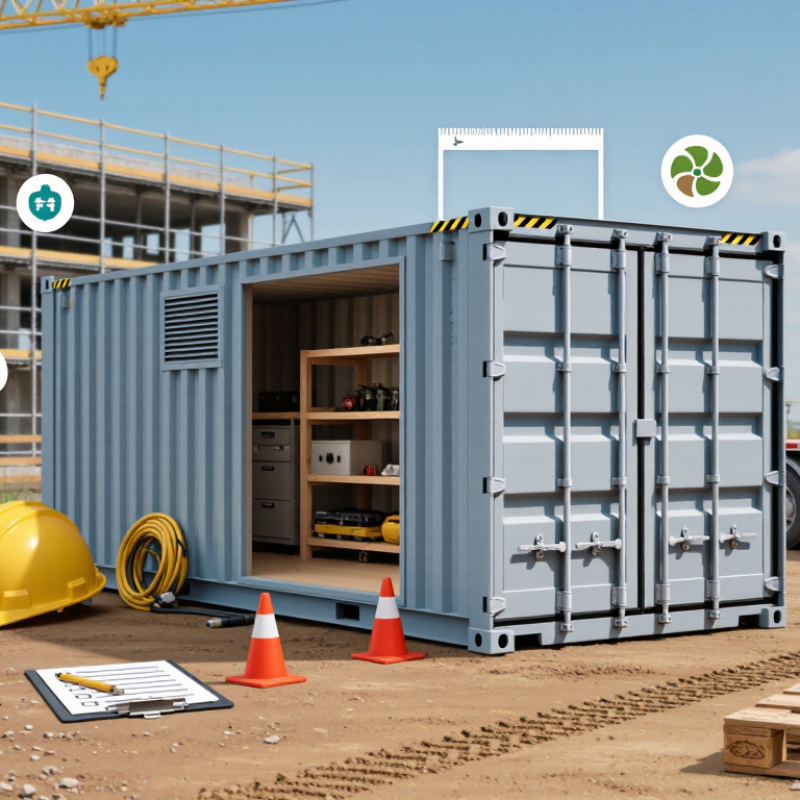
A construction container should fit the work it will support, not just the space available on site. Decide whether you need secure tool storage, a dry place for materials, or a temporary office. Each use changes the requirements. An office may need insulation, lighting, ventilation, and cable access, while tool storage may depend more on a strong floor and wide doors. Measure the largest items you plan to move inside. A tape measure and a quick sketch can prevent an expensive mismatch.
Tip: List the contents, access needs, and expected storage period. Note whether workers will enter daily, whether materials are sensitive to damp, and how the container will reach its final position. Check the route for overhead obstructions, tight turns, and firm ground. Small details matter.
Then compare the container’s interior dimensions with your actual plan, allowing room to move safely around stored items. Ask about door clearance, floor condition, ventilation, and any visible signs of corrosion or water entry. For an office, confirm that the proposed setup can support its intended equipment and occupancy. A container can look spacious when empty. It may feel cramped once shelves, desks, or bulky supplies are in place. I would leave more aisle space than seems necessary; that is an easy detail to underestimate.
| Tip | Project Need | Intended Container Use | Typical Option to Consider | Planning Checks |
|---|---|---|---|---|
| 1. List what you need to store | Estimate the type, quantity, and size of tools, materials, or equipment. | Lockable storage for hand tools, supplies, or packaged materials. | A standard 20-foot container may suit a smaller site; a 40-foot container offers more floor space. | Measure the largest items and allow room for safe access. Confirm actual internal dimensions with the supplier. |
| 2. Decide whether you need frequent access | Determine how often workers will retrieve or return items. | Daily tool storage or organized access to materials. | A container with suitable door access; consider a side-access configuration if access along the length is important. | Check door opening dimensions, clearance for opening doors, and space for loading equipment. |
| 3. Match container size to the site | Fit the container within the available delivery and placement area. | On-site storage without blocking access, work areas, or emergency routes. | Common ISO container lengths include approximately 20 ft (6.06 m) and 40 ft (12.19 m); standard external width is about 8 ft (2.44 m). | Dimensions can vary by model. Measure the route, turning space, overhead clearance, and final footprint before ordering. |
| 4. Consider the height of stored items | Store tall equipment, stacked materials, or shelving. | Vertical storage or equipment storage requiring extra headroom. | A high-cube container is typically about 1 ft (0.30 m) taller externally than a standard-height container. | Check internal height, door height, floor capacity, and clearance under site structures or overhead lines. |
| 5. Identify environmental requirements | Protect contents from rain, dust, temperature changes, or condensation. | Storage of tools, bagged materials, or supplies sensitive to moisture. | A sound, weather-resistant container; ventilation or insulation may be needed for specific contents. | Inspect seals, roof, floor, and ventilation. Ordinary containers are not automatically climate-controlled or moisture-proof. |
| 6. Plan for conversion or work use | Decide whether the container will remain storage or be modified for another purpose. | A site office, workshop, or equipment room. | A container suitable for the planned fit-out, with any required openings, insulation, lighting, or electrical work designed in advance. | Check local permits, building and electrical requirements, ventilation, fire safety, and structural effects of modifications. |
| 7. Confirm delivery and placement logistics | Ensure the container can be delivered, unloaded, and positioned safely. | Any temporary or long-term on-site use. | Select a size and delivery method that work with the access route and available lifting or unloading space. | Check ground stability, drainage, delivery vehicle access, placement level, utility locations, and any site restrictions. |
Dimensions are approximate; confirm the specific container’s measurements, condition, and load ratings before purchase.
Related Posts
-
10 Tips for Choosing Construction Site Storage Containers?
-
What Is the Best Construction Container from China?
-
Transform Your Construction Site Efficiency with Innovative Storage Container Solutions
-
How to Choose the Best Construction Trash Bin for Your Project?
-
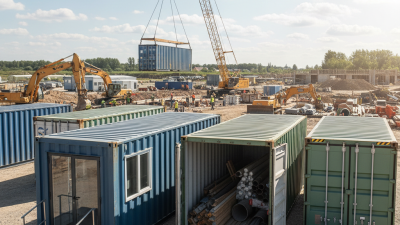
Top Benefits of Construction Container Rental for Your Next Project?
-
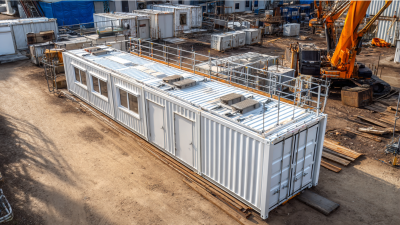
2025 Top 5 Construction Site Storage Containers for Ultimate Security and Efficiency